Introduction
Django is a high-level Python web framework that enables developers to build robust, scalable, and secure web applications quickly and efficiently. It follows the "batteries-included" philosophy, meaning it comes with many built-in features like authentication, an admin panel, URL routing, ORM (Object-Relational Mapping), and form handling, reducing the need to build common components from scratch. Django follows the Model-View-Template (MVT) architecture and encourages clean, pragmatic design while promoting rapid development and code reusability. It's widely used for everything from simple websites to complex enterprise-level applications.
In this guide we will show you how to deploy django, the python framework to build your own webapps.
Prerequisites
- A Webdock Ubuntu Server (Ubuntu Noble in this case)
- SSH access to your server
Installing Dependencies
First, we need to update and upgrade the server to make sure that all packages are up to date.
$ sudo apt update $ sudo apt upgrade -y
Install Python and pip
$ sudo apt install python3 python3-pip
And finally to run code in virtual environment we need to install the corresponding package called "python3-venv"
$ sudo apt install python3-venv
Now, we have to create our virtual environment. This is done so that the packages that are needed for our web application to work can be installed in the virtual environment only and the global Python installation/packages are left untouched.
Run:
$ python3 -m venv django
The last argument is the name of the environment, in this case we'll call it "django" but you can name it however you like.
Next, we need to move into our virtual environment and activate it
$ cd django $ source bin/activate

Now, we need to install Django in our virtual environment, so we can start creating apps.
With ths follwoing command you will install the latest version of django, if you need a different version, use the second command.
$ pip3 install django
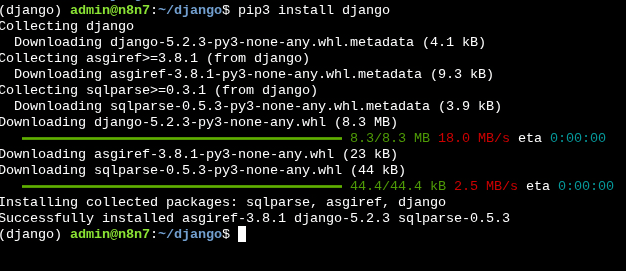
$ pip3 install django==3.0.1 – Here is where you would install the exact version if needed.
And finally, to finish, we need to create an app and make sure that django was installed well.
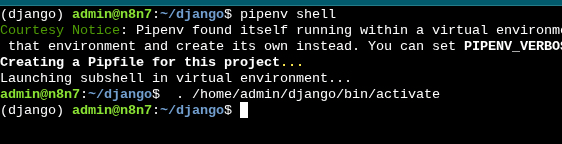
First, we need to switch to our environment shell by running the command.
$ pipenv shell
Then, we create a Django project with the command. Pay close attention to the period at the end of the command.
$ django-admin startproject helloworld_project .

As shown by the ls command, we can see that the "helloworld_project has been created.
And finally, to make sure django is running, we use the command
$ python3 manage.py runserver ServerIp:port
Server ip -> Your server ip
Port -> The port you want to run django on
You will get the following error.
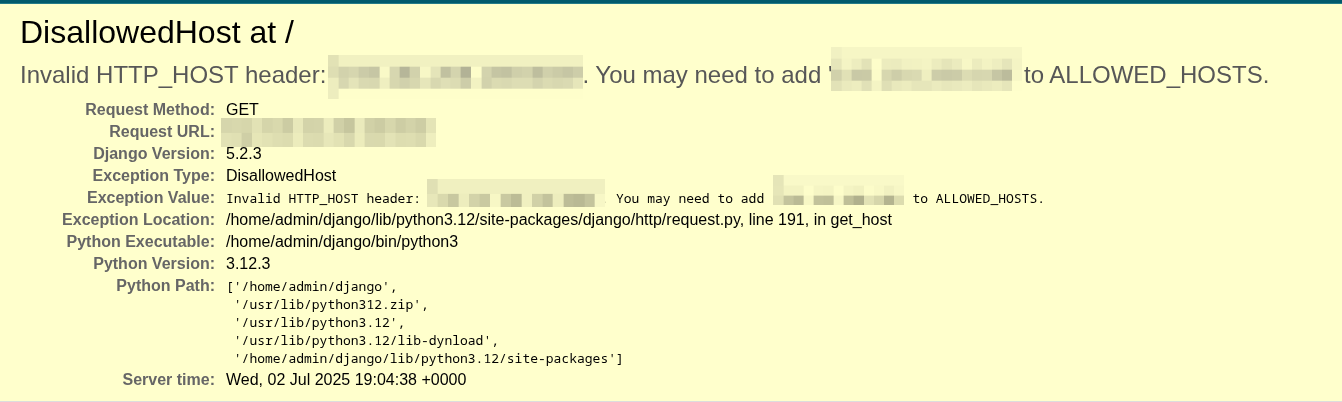
This Error just tells us that not everyone can view the app to fix this error, we look for the configuration file and add an "*"
The settings file should be under the project name and named settings.py, then we look for the line named "Allowed hosts" and add the asterisks
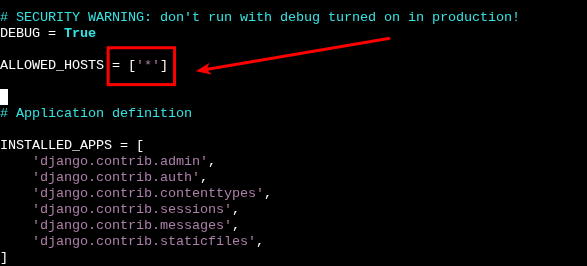
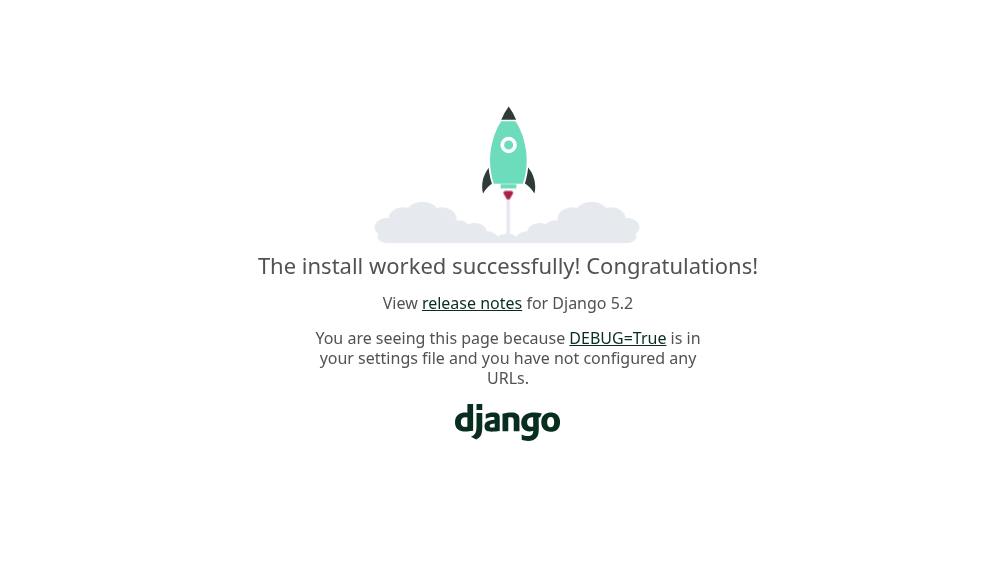
Now we save the file, and when we run the previous command, we should now see Django running.
$ python3 manage.py runserver servIP:port
Conclusion
That's it. If you have followed the guide as is your demo Django site must be up and running.
If you run into any trouble or have any questions, don't hesitate to reach out to the support team for help on how to get django running.
This article was written by Webdock Support Specialist Jose Porras . Jose is passionate about Cloud Hosting and helping Webdock Customers succeed wherever he can.
