Introduction
n8n is an open-source workflow automation tool that allows you to connect apps, services, and custom logic using a visual, low-code interface. It supports hundreds of integrations—from CRMs and databases to cloud services and messaging platforms—enabling you to automate repetitive tasks, sync data across tools, and build complex workflows without heavy programming. In your workflow, n8n can save time, reduce errors, and improve efficiency by automating processes like lead capture, email notifications, file management, or even triggering custom scripts based on specific conditions or events.
In this guide, we’ll show you how to install n8n on your server so you can start automating your workflows.
Prerequisites
- A Webdock Ubuntu Noble server
- Root or sudo access to your server
Node and NPM Installation
Note: For this part, please use the shell user that you created such as "admin" instead of root.
N8N requires Node to be installed.
Let's start with system update and upgrade.
$ sudo apt update
$ sudo apt upgrade
Install NVM.
$ curl -o- https://raw.githubusercontent.com/nvm-sh/nvm/v0.40.3/install.sh | bash
Source config after NVM installation.
$ . "$HOME/.nvm/nvm.sh"
Install Node
$ nvm install 22
The above command installs Node version 22, along with NPM.
Verify the Node.js version.
$ node -v # Should print "v22.16.0".
$ nvm current # Should print "v22.16.0".
Verify npm version:
$ npm -v # Should print "10.9.2".
Now that we have installed Node and NPM, let's install n8n
N8N Installation
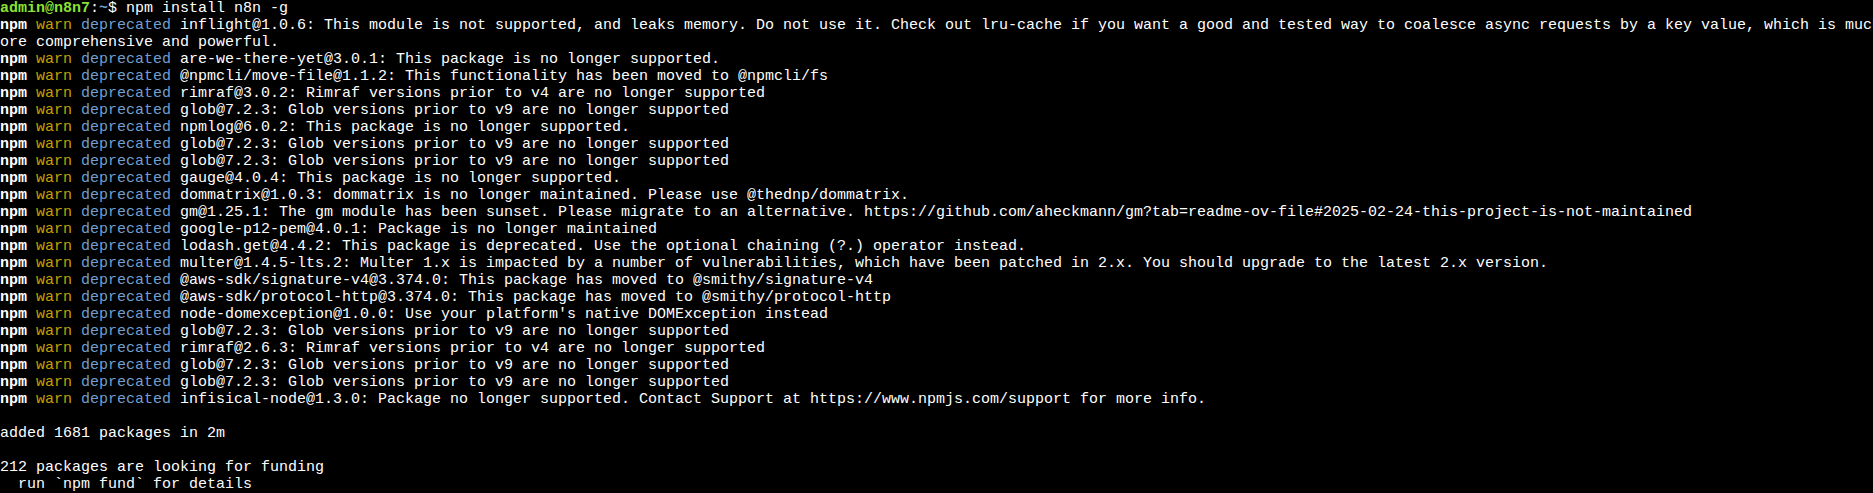
Run the below command to install n8n
$ npm install n8n -g
Now, to run n8n, we use the command:
$ n8n start

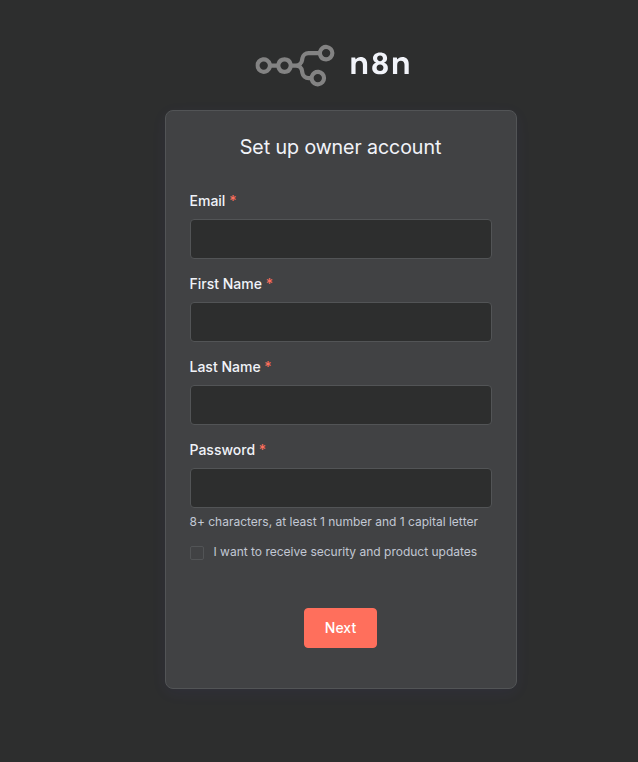
Now, you should visit your server’s ip with the port 5678 and view your n8n instance.
http://server-ip:5678
The app will not start automatically; for it to do so, you will need to create a service for it.
Switch to root first.
$ sudo su
Create a service file.
# touch /etc/systemd/system/n8n.service
Open the file with your favorite file editor. I chose nano.
# nano /etc/systemd/system/n8n.service
Add the below lines to the service file.
Note: You must change the ExecStart command by replacing the /home/admin with your shell user's home directory. And the "User" with your shell username. Please also change the Node version in this command based on what you see on "node -v".
[Unit]

Description=n8n
Documentation=https://n8n.io
After=network.target

[Service]

Environment=NODE_PORT=5678
Environment=N8N_SECURE_COOKIE=false
Type=simple
User=admin
ExecStart=/home/admin/.nvm/versions/node/v22.16.0/bin/n8n
Restart=on-failure

[Install]

WantedBy=multi-user.target
Then run the command daemon-reload to load the new service to systemd.
# systemctl daemon-reload
You may encounter an error where n8n cannot locate the `node` binary via `/usr/bin/env node`.
To resolve this, create a symbolic link from your existing Node.js binary to `/usr/bin/node`.
# sudo ln -s /home/admin/.nvm/versions/node/v22.16.0/bin/node /usr/bin/node
And finally, to get it to auto-start, use the commands.
# systemctl enable n8n.service
# systemctl start n8n.service
To make sure it’s running, use the command.
# systemctl status n8n.service
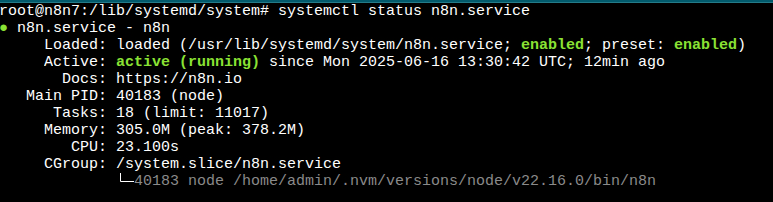
It should say that’s enabled and active.
As a sidenote
If you get the following error, make sure ssl is installed on your server, or use the below commands as a workaround.
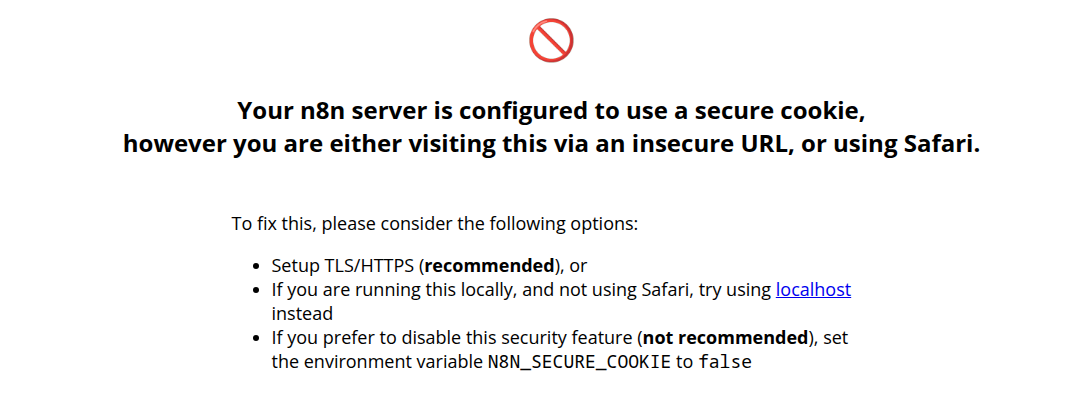
Note: Make sure to run the below commands as the same shell user you run the n8n (using n8n start).
$ echo 'export N8N_SECURE_COOKIE="false"' >> ~/.bashrc
$ source ~/.bashrc
This is a temporary solution, as for best practices, it is more secure to run SSL on your server.
How to apply SSL certs to your n8n service.
-
Go to your /etc/nginx/sites-available/n8n file
-
Add the following snippet.
server {

    listen 80;

    server_name your-domain.com;

    location / {

        proxy_pass http://localhost:5678;

        proxy_set_header Connection '';

        proxy_http_version 1.1;

        chunked_transfer_encoding off;

        proxy_buffering off;

        proxy_cache off;

    }

}
Replace your-domain.com with your actual domain.
-
Generate a symbolic link to this file in the sites-enabled directory
sudo ln -s /etc/nginx/sites-available/n8n /etc/nginx/sites-enabled
-
Test the configuration and restart Nginx
sudo nginx -t
sudo systemctl restart nginx
-
Create the ssl certificate with Certbot and the Nginx plugin by running
sudo certbot --nginx -d your-domain.com
Conclusion
This guide outlined steps to setup n8N on your Webdock server. We hope this tool fits your automation needs!
Please reach out to Webdock Support if you need any further assistance.
This article was written by Webdock Support Specialist Jose Porras . Jose is passionate about Cloud Hosting and helping Webdock Customers succeed wherever he can.
